


4K Video
-
2 4K Player
-
3 4K Video Editing
-
4 Download 4K Video
How to Shoot and Edit a 4K Video on Galaxy Note 3
For many years, if you wanted to shoot video, you needed a dedicated video camera, but times move on. Phones have had the ability to record moving images, I hate to refer to most of them as video, for years now, but with the advent of the Note 3 and its stable mates, you now have mobile devices with higher specification video recording abilities than most dedicated hardware. Indeed, on the surface it looks to be encroaching on semiprofessional products like the Canon 5D mkIII for video output. But is it really that simple? Let’s have a look at what is involved in filming and manipulating a 4K clip on a Galaxy Note 3.
Shooting 4K
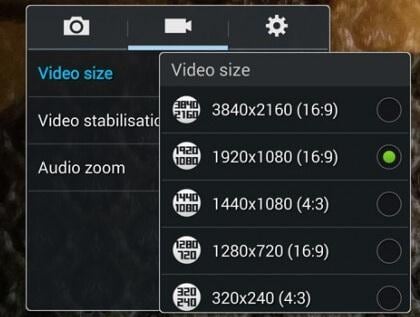
The first step you need to do to shoot your movie in 4K is to get the settings right on the Note. By default it records at 1080p, so first you will need to go into the video tab in settings and alter the video size to the full 3840x2160 resolution.
Now that is done, there are some things to be aware of. Firstly, 4K video can only be shot in auto mode, so that is pretty much it as far as creative options go, you set the resolution and press record. Secondly, and this is quite a big one, there is no video stabilization in 4K either. This makes shooting a tricky prospect and requires some planning, so be aware of those limitations and that, handheld, the large resolution can exacerbate the small movements that occur when shooting to really emphasize them on playback.
It is also worth noting that when shooting 4K on the Note, you want plenty of light, in low light situations the results can be less than you would hope for.
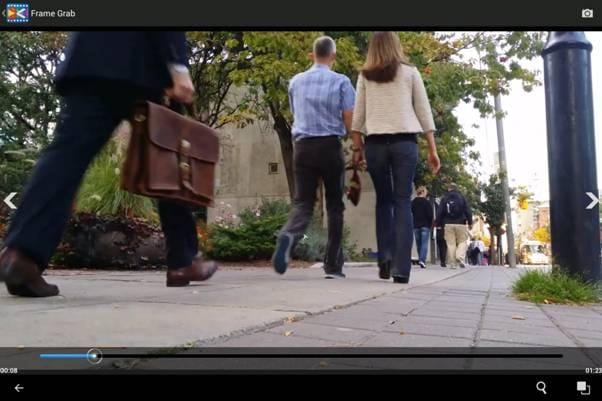
With a bit of luck, you will end up with a short video like this one.
Editing your footage
Now you have some footage, you will want to edit it. There are numerous tools for editing video footage out there, but my favorite one is AndroVid Video Editor. There are pros and cons to all the better Android based editors, but this one strikes a nice balance for me.
So, you have your editor, and you have your clip, now what?
1. Importing
The first step is to import the footage into the editor. Here you tap on the film icon to open up the browser and go to your chosen footage.

Selecting it will import it into Androvid where it will start playing, just so you are sure it’s the right one!
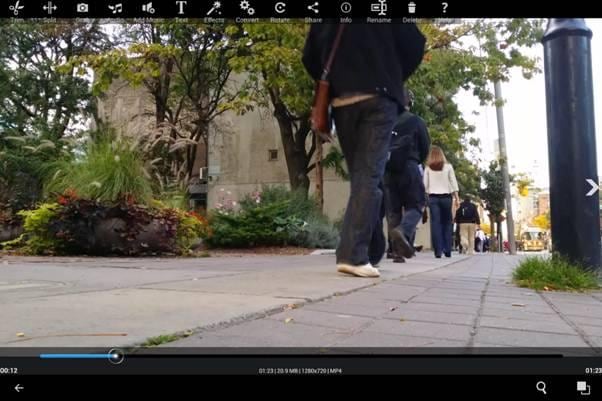
Pausing the playback brings up the menu at the top, as you can see there are many options, let’s have a look at each in detail.
2. Trim
Starting from the left, the first option is Trim. Hitting that button takes you to a simple interface as we can see, and it works just as simply.

You just have to drag the two markers to the points where you want to trim the video, then hit the scissor icon in the top right which brings up this interface.
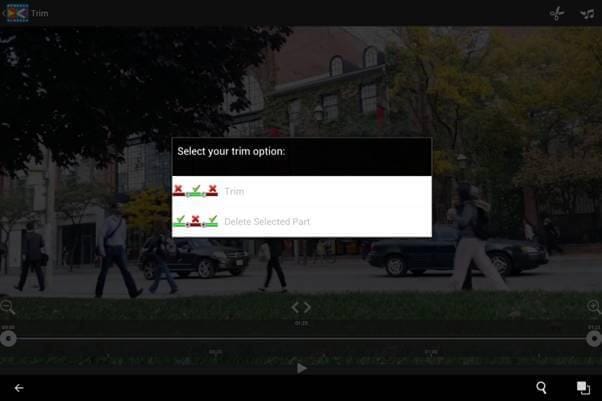
Now you can choose to keep the selected but and discard the two ends, or keep the ends and discard the middle bit. It really is that simple.
3. Split
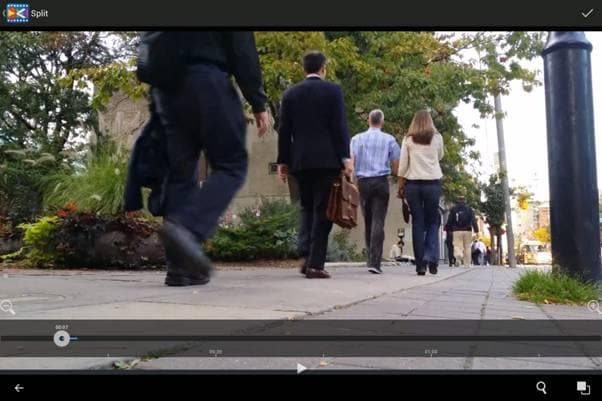
Next up we have Split. This is very like Trim but has but a single selection point on the video timeline. Wherever you place that is the point in which the footage is cut into two separate video clips.
With those two tools and the merge tool we will look at later you can pretty much do all of the simple editing you would want to do on your Android device, but there is are other options here.
4. Grab
Next up is Grab. This allows you grab a frame of your video, it is simply a case of pausing playback at the point you want and hitting the camera button. Pressing it again after a grab takes a shot of the next frame along, and once you have a few you can pick one and import it directly as your wallpaper should you desire or share it to social media through the app.
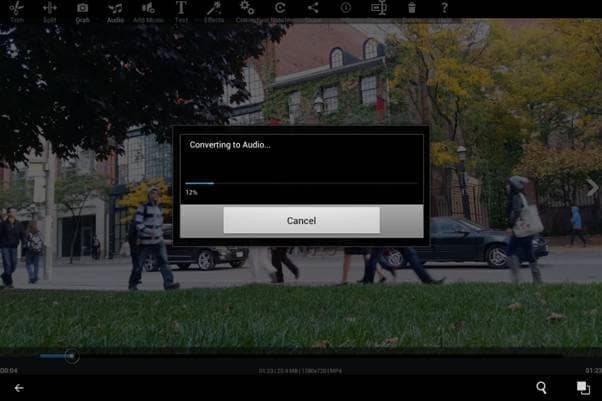
5. Audio Only
The audio button is incredibly useful for certain types of footage, in that it converts the clip into audio only.
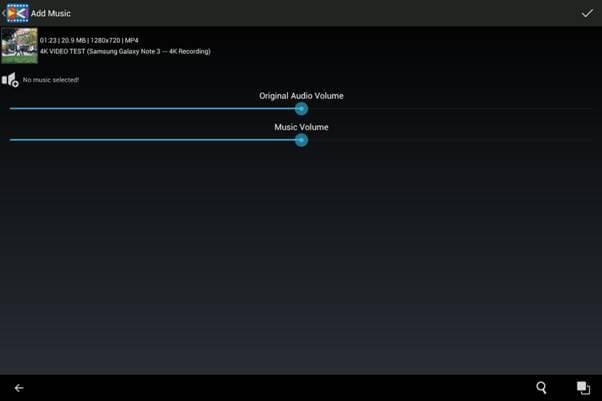
6. Add Music
The Add Music Button allows you to change and mix the audio on your clip.
You can select a new piece of audio, and adjust the volume of both the original and new audio tracks as you wish, it’s quite sophisticated and interesting to see on a product of this type.
7. Text
The text button allows you to add text into your clip, you can choose the size, color and placement of any text you want all within the simple interface below.
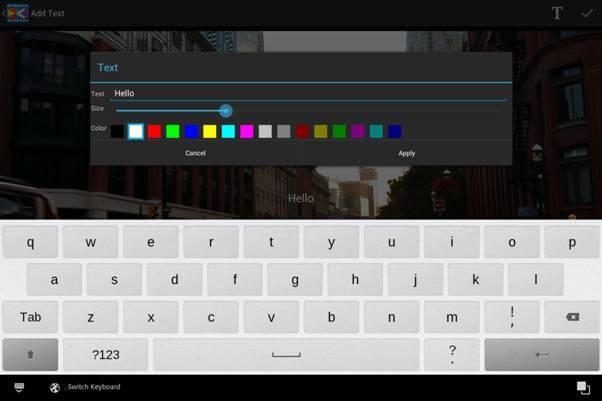
Great for adding in location notes and so on.
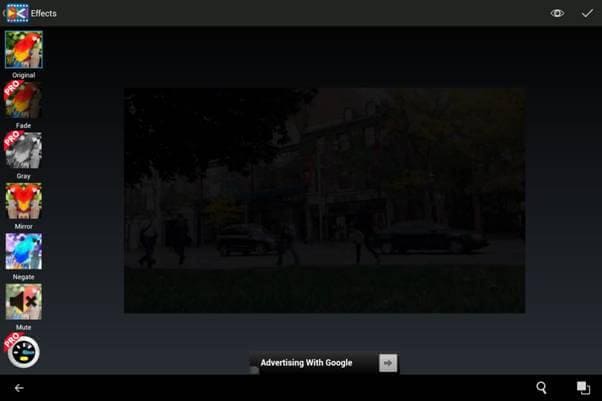
8. Effects
The next one is the effects button, some of these are only available if you have the Pro version of the software which attracts a small fee, the free version isn’t without options here though, you still have a choice of a dozen or so effects including Mirror, which mirrors the image, Sepia which gives it that old photo look, as well as options to add blur, a vignette, sharpen and so on. Plenty of options to get creative, and if you are not sure, the best advice is to try one and see what it looks like!
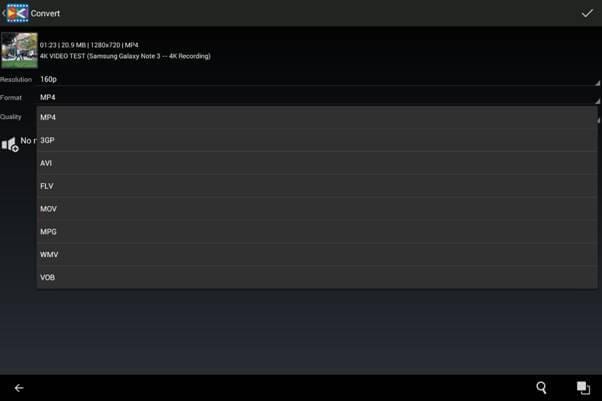
9. Convert
Convert allows you to convert your finished masterpiece into a different format, resolution and quality if you wish. With resolution from 160p upwards, a host of formats as seen below and a choice of three quality settings you can find the perfect balance of file size and output for any application.
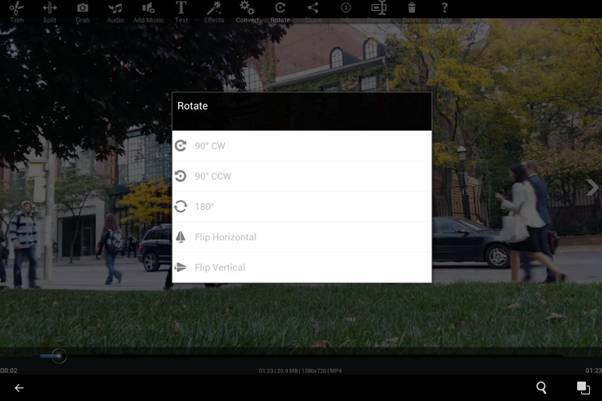
10. Rotate
The final editing option here is the Rotate button, this allows you to rotate or flip the video with a single button, very useful and can create some very interesting effects.
11. Sundries
The final buttons on this screen are the Share option that allows you to use your social media counts to distribute your video, and info button that gives you the format, resolution, size, file type and duration of the selected clip, a rename button that lets you rename the file, useful if you have edited it a lot, and finally a delete button if you want to delete it.
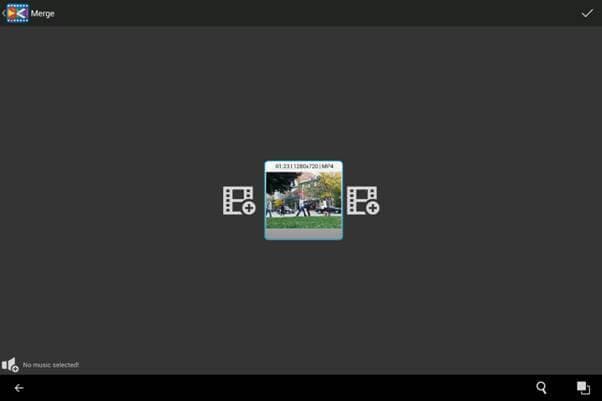
12. Merge
Back to the main screen we find the last editing tool in the app, and that is merge. This is represented by the little paper clip icon, and as ever is simple to use. Simply tap on merge, and you are presented with the screen below.
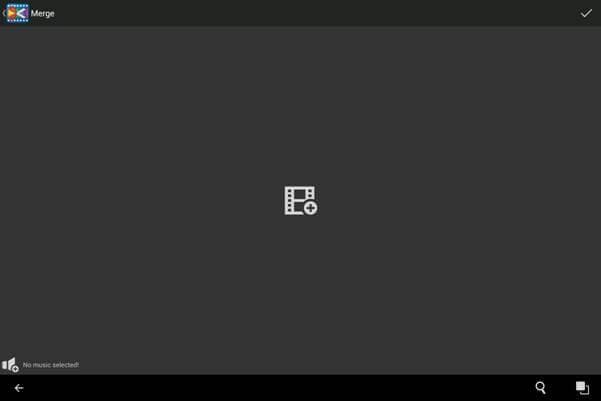
Tap the filmstrip icon and it takes you to the select a video dialogue, which is what you do, select the first clip.
This then appears in the middle, and you can then add a video either in front or after it. Put another video in the correct place, and you can again repeat this if you wish, until you have all the clips you want in the right order. Then it’s just a matter of tapping the tick at the top right to say you are done, and the app will stitch your clips together for you.
With those tools it is straightforward to edit your new footage, split it, rejoin it in a different order, and anything else you may need. Editing on the move has never been so simple.
There are multiple 4K video converters with powerful function. However, if video converting is new to you, consider Wondershare Video Converter Ultimate, which is a powerful but easy-to-use tool for users just starting out. Download the free trial version below.


