How to Edit Vine Videos
Vine enables user to record six second long video clips through its in-app camera, which will only record only when the screen is being touched. So user can edit on the fly or create stop motion effects and can then publish that six-second long video through vine's social network site.
On October 24, 2013, Vine releases an update that brings two new big features: Sessions and Time Travel. Sessions allows user to save a video before completing it and come back to it at a later period. User can work up to 10 posts at a time. To use this feature user just need to tap a newly placed icon on the right side of the camera to save or open a saved session. The second feature called Time Travel lets user delete, rearrange or replace scenes before making the post. In the past, users have to shoot a video constantly without any mistakes and they could never go back in time with Vine. Using this new feature is as simple as tapping the green bar while shooting or tapping the Edit but while previewing the video. This update is available for both iOS and Android.
How to edit video with Time Travel
Editing a vine video using the new Time Travel feature in vine app is very simple. Just follow the steps described below:
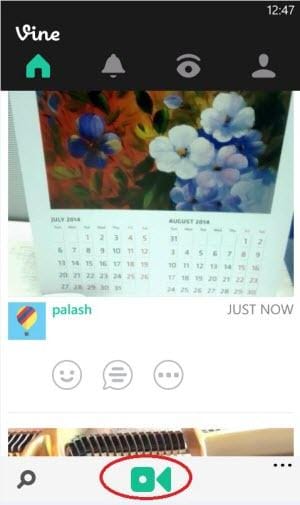
Step 1: Open up the vine app on your mobile phone and login using any valid Twitter account or through any valid Email address.

Step 2: To start recording, tap the recording icon at the bottom of the screen. It will start the in-app camera. Touch the camera view to start recording. Remember the camera will record the scenes as long as you touch the screen. It will stop recording when you remove your finger from the camera view. Don't forget to make several scenes. You will see a green progress bar at the top of the screen.
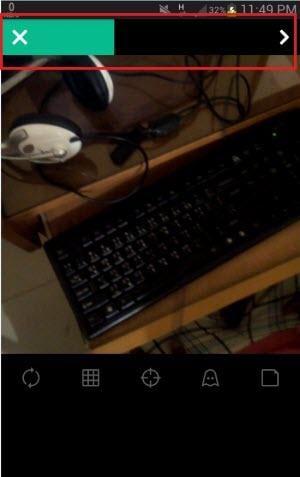
Step 3: You can start editing a video at this stage while your recording is not complete yet. To do this, tap the green progress bar at the top of the video.
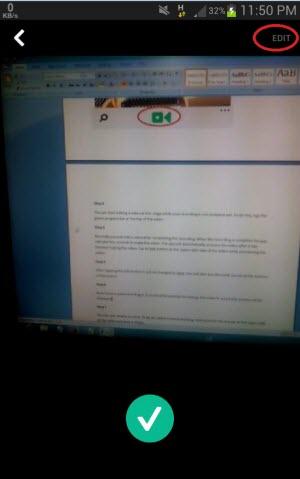
Step 4: Normally you will edit a video after completing the recording. When the recording is complete the app will take few seconds to make the video. The app will automatically preview the video after it has finished making the video. Tap to Edit button at the upper right side of the video while previewing the video.
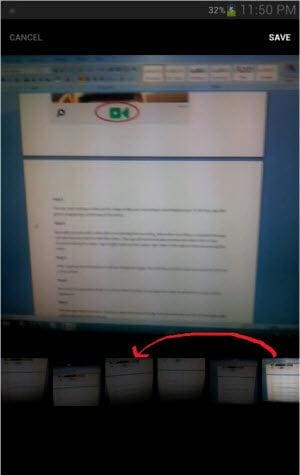
Step 5: After tapping the Edit button it will be changed to Save. You will also see the small scenes at the bottom of the screen.
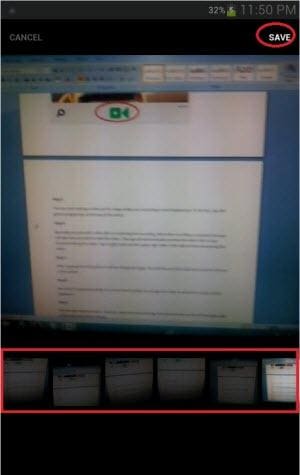
Step 6: Now touch a scene and drag it to some other position to change the order in which the scenes will be displayed.
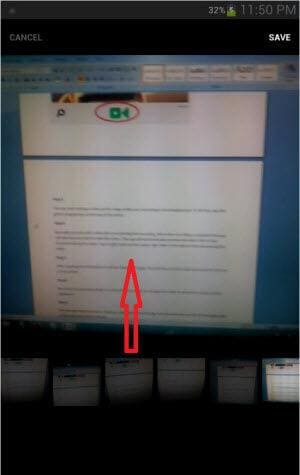
Step 7: You can also delete a scene. To do so, select a scene and drag that scene to the red bar located just above the video and drop that scene on the red bar.
Note: Normally you will not find any red bar. It will only appear after you have started to drag a scene towards the upper direction.
Step 8: Finally to make the changes permanent tap the Save button at the upper right side of the video. Now, preview the video again and if still need to do some additional edit follow the instructions again.