


Top 5 Avidemux Plugins
Whilst commercial packages cover every level of user from beginner to professional studio and beyond, many people find that the open source, free video editor Avidemux does everything they need and more without the cost, and with plugins Avidemux’s abilities can be increased even further to open up yet more possibilities. But what plugins work best? Let’s go through the best five available.
1. The Crop Plugin
Now this one may seem a little strange as a pick for a top five, but the way this plugin works and the ease of use really make this one a great plugin for me. After opening a video clip you can select your filter plugins from the Video>Filters menu path. This presents you with a menu pop out box that gives you a choice of filters and plugins you can use. Starting in the ‘Transform’ section we select the ‘Crop’ tool.
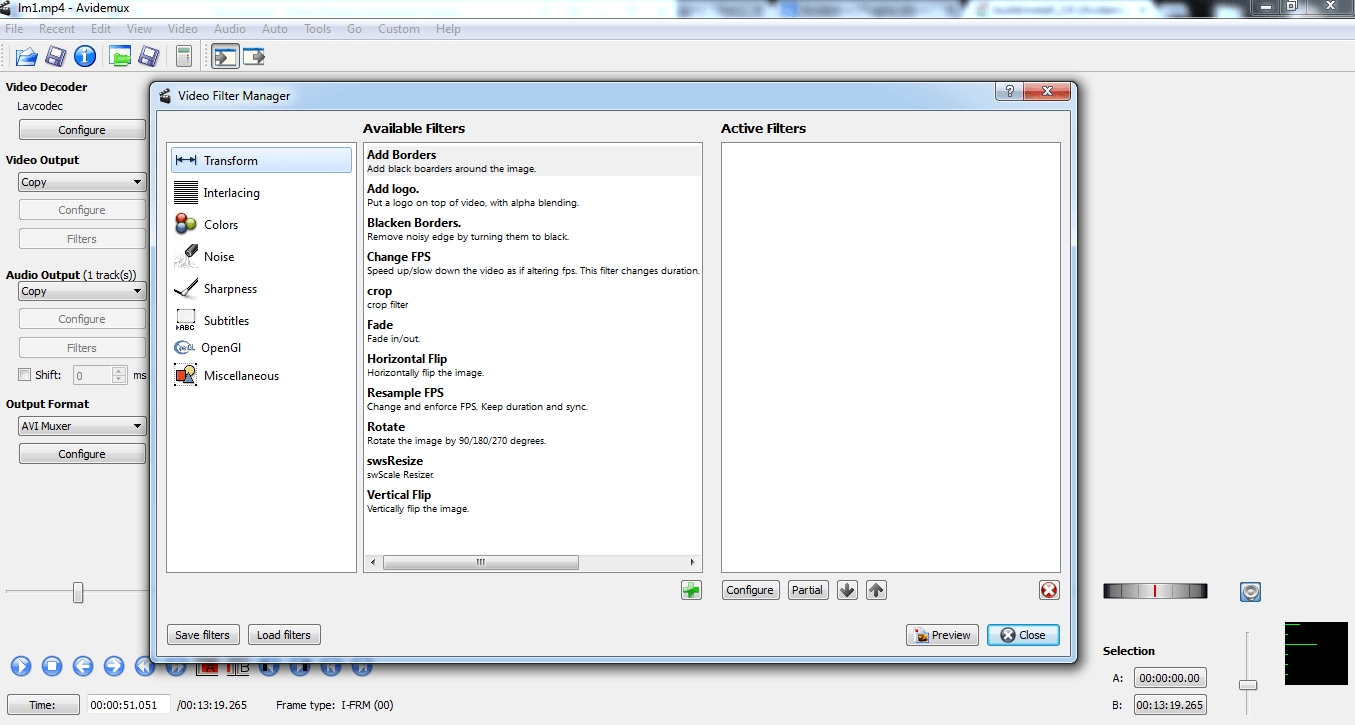
Opening the crop tool presents us with a preview window where we can experiment with our video clip.
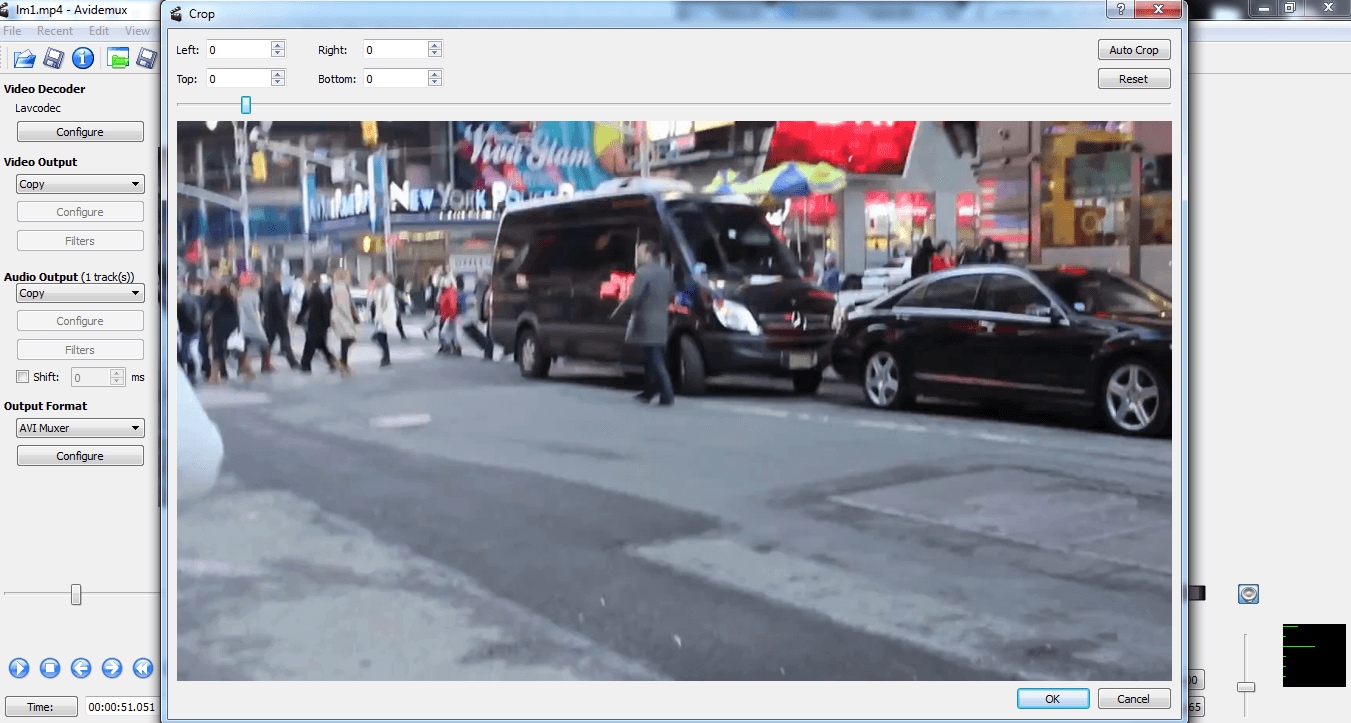
The plugin is easy to use, simply adding in values in the left, right, top and bottom input boxes crops the image at those points by the corresponding number of pixels, like this.
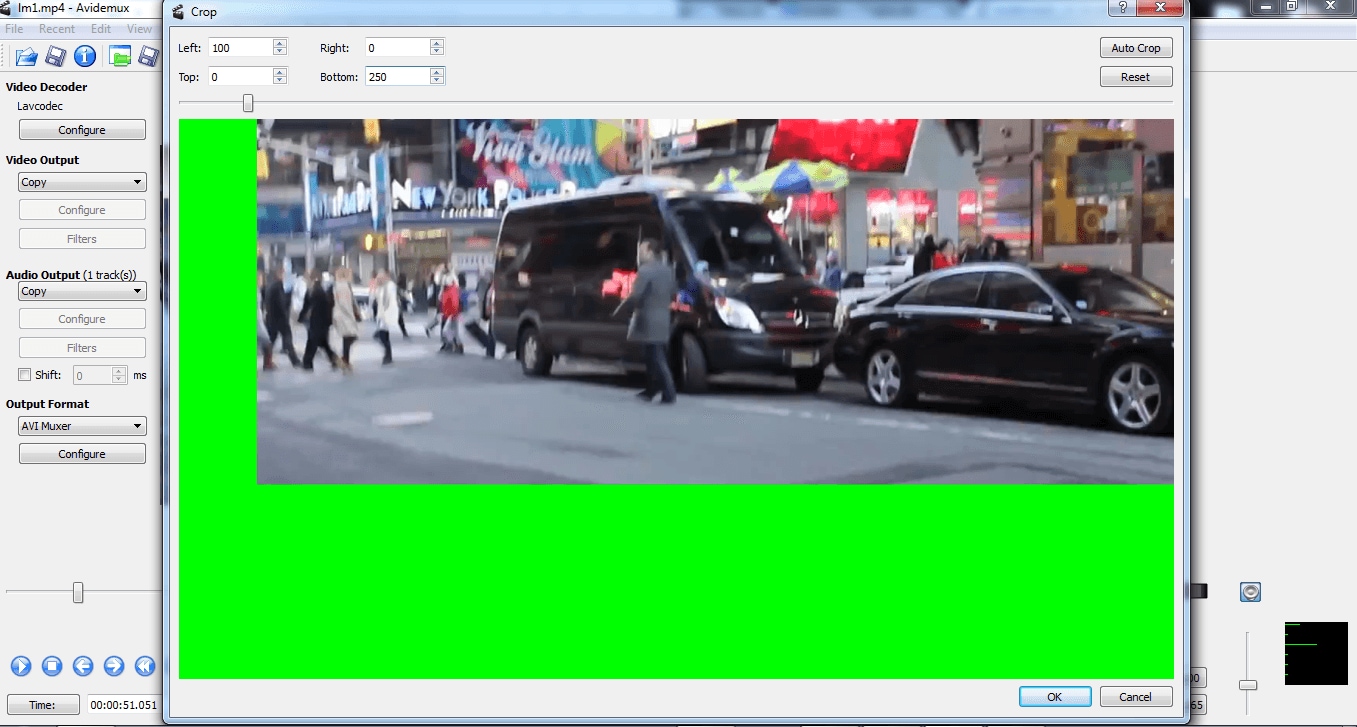
The above illustrates a 100 pixel crop from the left, and a 300 pixel crop from the bottom, this is to illustrate the operation obviously, and not something I would be doing normally! Selecting ‘OK’ applies the plugin to the entire clip.
Yes, cropping isn’t the most glamorous of tools to consider, but this one just works, it’s easy to use and precise and for that reason it reaches my top 5.
2. Mplayer EQ2
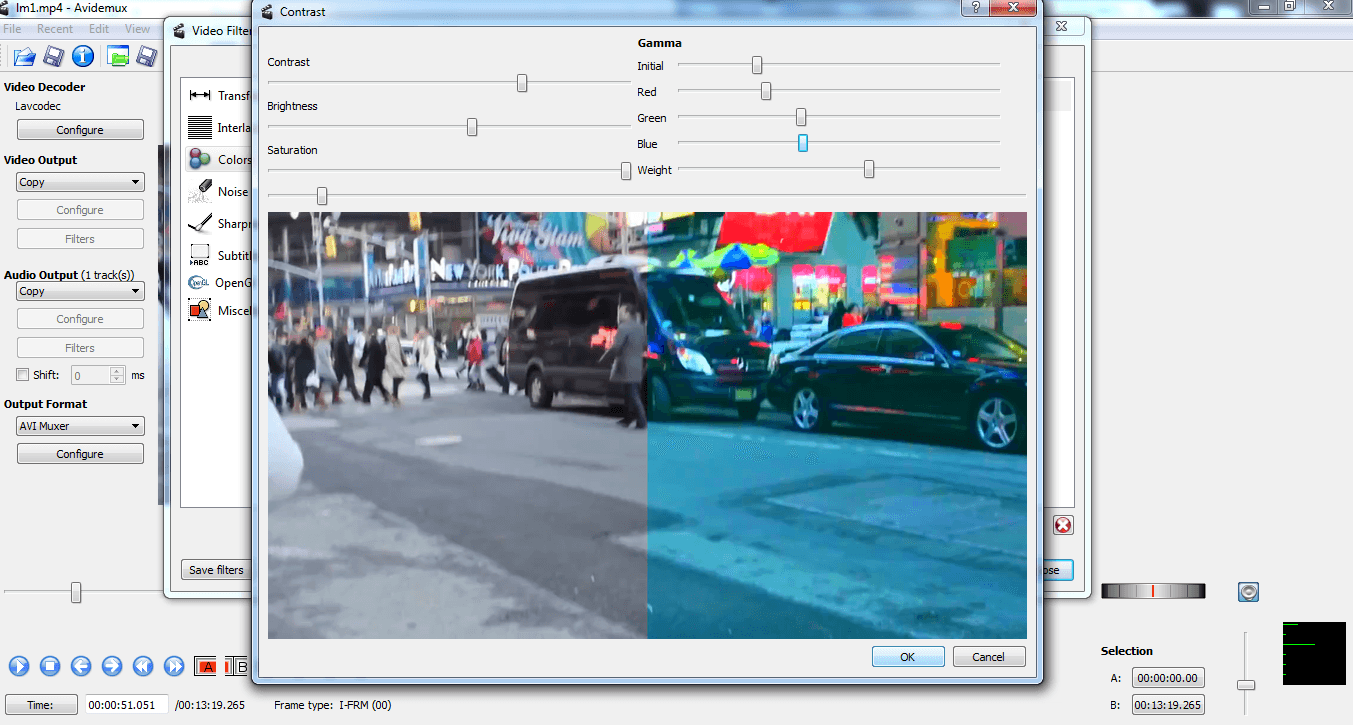
This one is for me the best adjustment plugin there is. This time found on the ‘Colors’ section of the filter menu it offers a range of tonal and vibrancy controls, the beauty here is that it splits the screen in half and allows you to see an unchanged and changed part at the same time.
Selecting Mplayer EQ2 from the menu brings you to its adjustment window as we see here
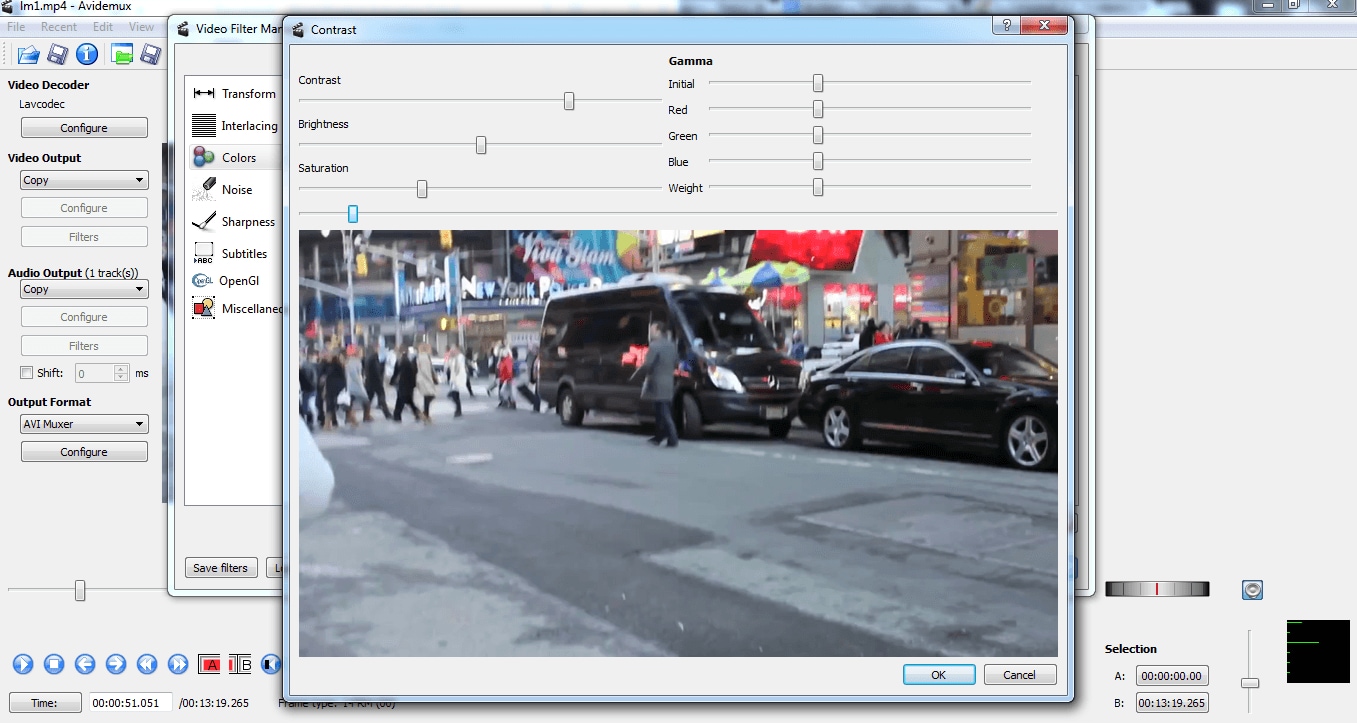
Although compared to some commercial applications these controls may seem somewhat basic, they do between them offer a vast range of adjustments and because you can see them in real time, as well as compare them to the original there is scope for very detailed adjustments and a wide range of effects.
Again, we have used extreme adjustments here to illustrate the effects in the screenshots.
Once again, clicking ‘OK’ applies the changes to the entire video, you can of course, as with all other plugins, go back later to change any settings you wish.
3. Libass plugin
This is another great plugin, used for adding subtitles, which is, unsurprisingly, found on the ‘Subtitle’ section of the filters menu.
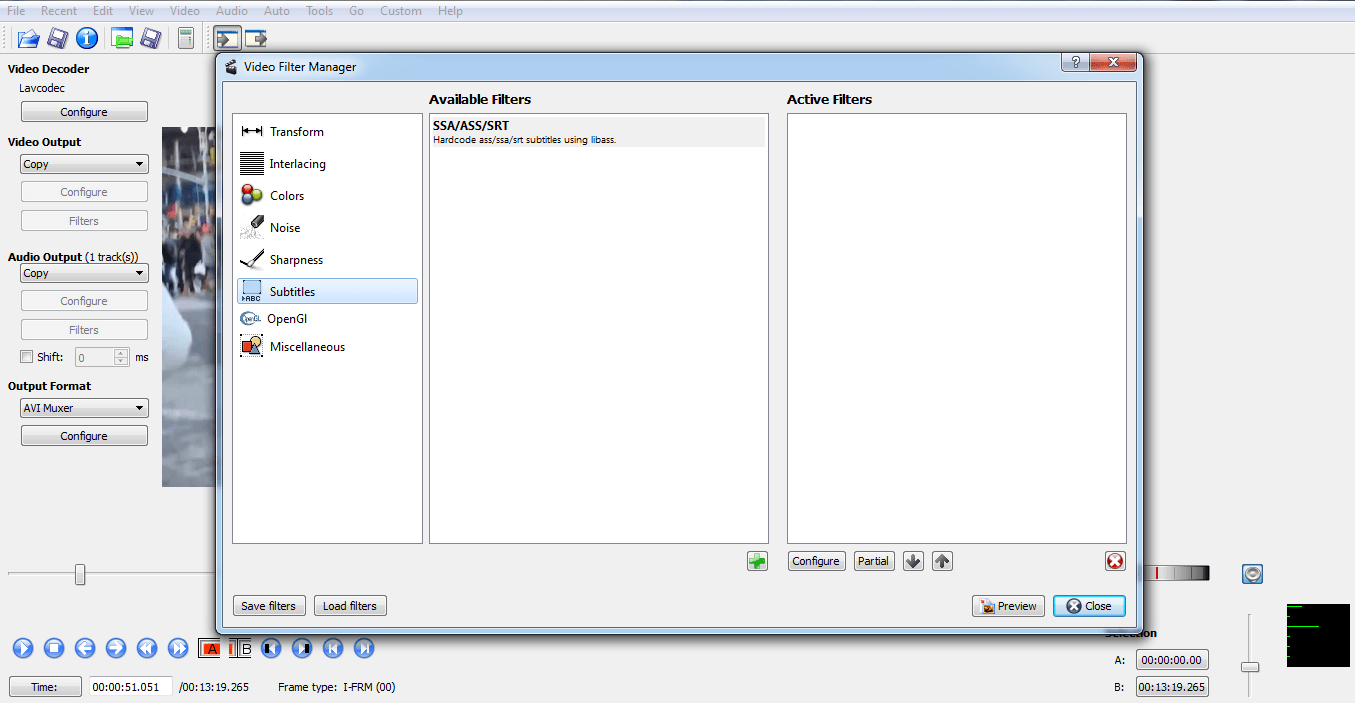
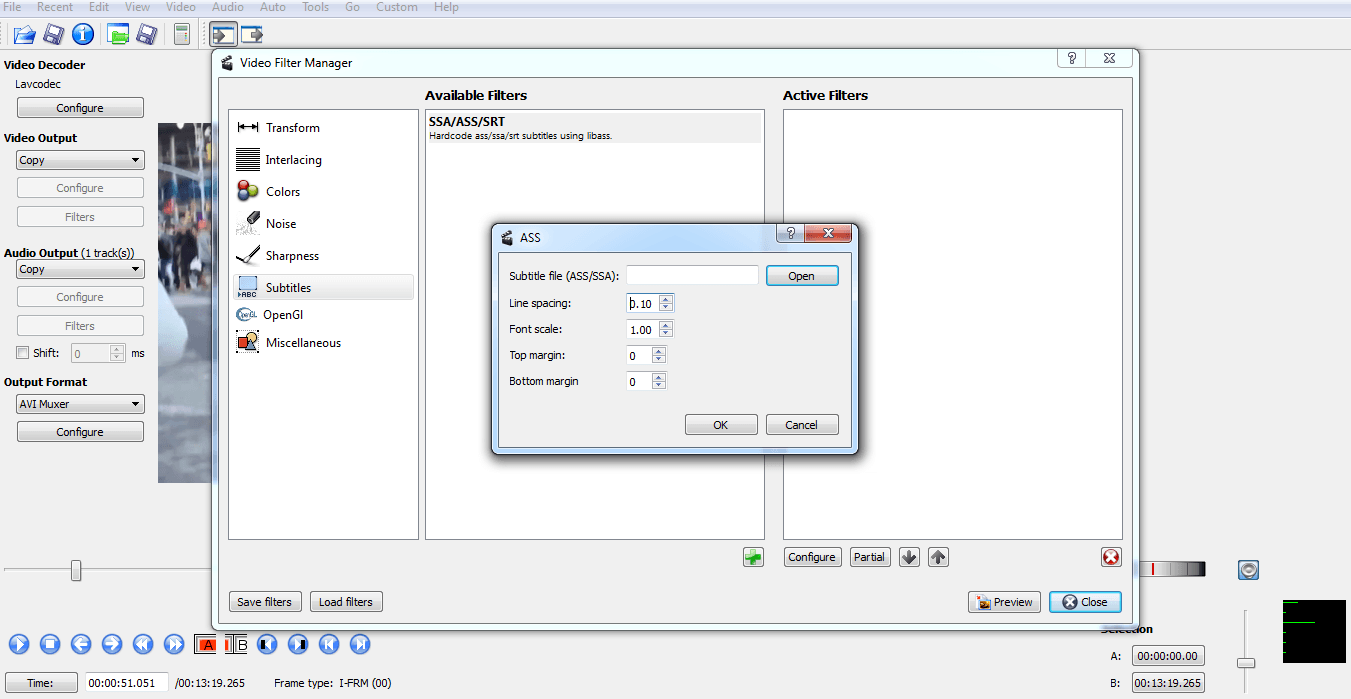
Selecting this brings up the options for this plugin, allowing you to locate and use a subtitle file in any of the standard ASS/SSA formats, and then adjust the placement, size and font for those subtitles extremely precisely.
As with the other plugins in this list, it is as much the way it functions as what it does, having precise control in such an easy manner is to be commended and is exactly why this plugin makes the list.
4. Mplayer delogo
I like this one again for simplicity, but also effectiveness. Some may question why you would need this sort of plugin in the first place, but there are instances where you need to blur something and this plugin is very effective.
Found under the ‘Sharpen’ menu it is a simple tool to operate. Simply set the number of pixels high and wide the box is, and its position in pixels within the frame so it covers a logo. Images here used for illustrative purpose only.
![]()
Click OK and this is the result.
It’s by no means what you would term sophisticated, but can be used to good effect if it’s needed.
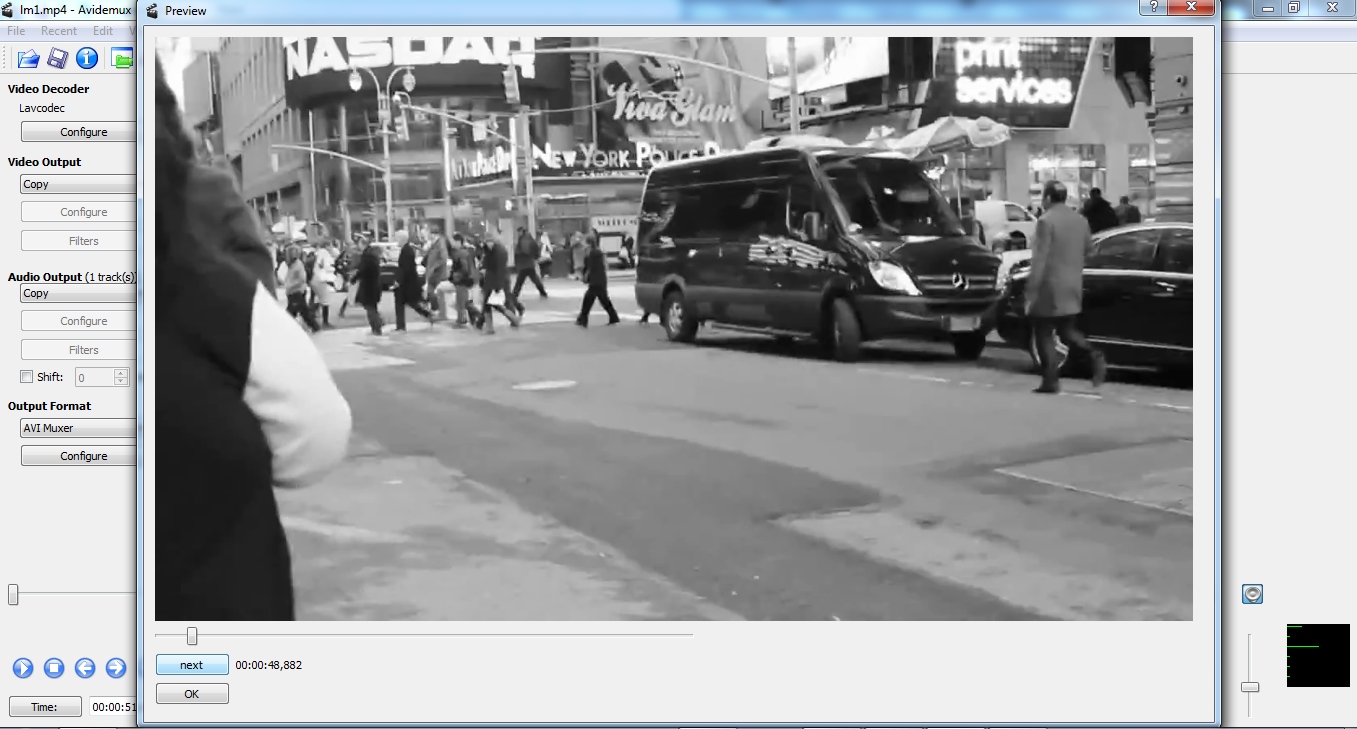
5. Grayscale
My final plugin is grayscale. This is one that I find incredibly useful, a simple on touch plugin with no parameters to set, just apply it to your video and instant grayscale.
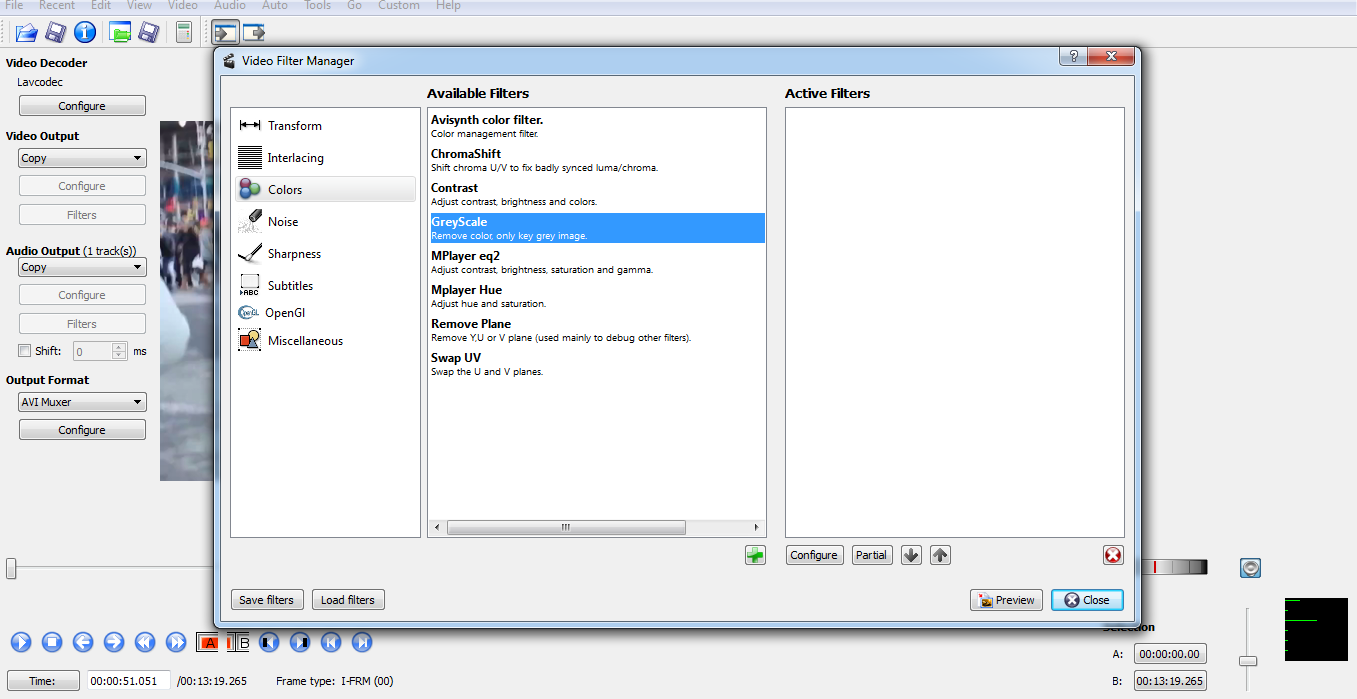
Why do I like this so much? It depends on what your project is, but I love the grayscale look and find I use it quite often in many of my projects, once applied you can preview the effect and it is as simple as that.
I just find it incredibly pleasing to the eye, and if you combine it with some of the other plugins mentioned by changing gamma and contrast levels you can get some really interesting effects in the minimal amount of time. I love things that allow me to be creative without bogging me down in the technicalities of what I am doing..
