Video Converters
- TRY IT FREE TRY IT FREE
- 1. Convert to Any Format+
-
- 1.1 Best Video Converter to MP4
- 1.2 Top 8 Free Video Converter to MP4
- 1.3 Top 9 3GP Video Converters
- 1.4 Online Video Converters to AVI
- 1.5 Top 5 MPEG Video Converters
- 1.6 FLV Video Converters
- 1.7 6 Free Video to JPG Converters
- 1.8 Top 10 Video to GIF Converters
- 1.9 Top 6 Video to Text Converters
- 2.0 Top 5 TP Converters in 2020
- 2.1 Top 5 Free WebM Video Converters
- 2.2 Top 5 HTC Video Converters
- 2.3 Best 5 MOD/TOD Converters
- 2.4 Best 7 WTV Converters
- 2.5 Top 10 2D to 3D Video Converters
- 2. Video to Audio Converters+
- 3. Video Converters for Device+
- 4. Other Video Converters Tips+
-
- 4.1 Top 10 Free Video Converters Windows
- 4.2 Top 11 Online YouTube Converters
- 4.3 Free YouTube Video Converters
- 4.4 Facebook Video Converters
- 4.5 Is Online Video Converter Safe
- 4.6 Video Format Converters
- 4.7 Top 5 Video Size Converters
- 4.8 Top 6 Video Resolution Converters
- 4.9 Batch Video Converters
- 4.10 Top 5 MXF Converters
- 4.11 DVR-MS Converter
- 4.12 Alternative to HandBrake
- 4.13 HandBrake Settings
- 4.14 Alternative to Movavi Windows
- 4.15 Best Alternative to Movavi
- 4.16 Alternative to Freemake
- 4.17 YouTube Playlist Downloader
- 4.18 Windows Media Player Alternatives
- 4.19 4K to 1080p Converter
- 4.21 Download Sound Effects
- 4.22 Edit Videos Easily
- 4.23 Video Editors for Beginners
- 4.24 Maximize Study Efficiency
- 4.25 Convert Online Videos for Phone
- 4.26 Top 10 Online Study Sites
- 4.29 Online WLMP Converter
- 4.30 6 Popular AMV Converters
- 4.31 Best Format Factory Alternative
- 4.32 Top 10 Free Quicktime Converter
- 4.33 How to Screen Capture in iMovie
- 4.34 How to Join Movies in iMovie
- 4.35 Easy WAy to Cut Video in iMovie
- 4.36 How to Crop Video in iMovie
- 4.37 Best Free Google MP3 Converters
- 4.38 Top 11 Google MP4 Converters
How to Screen Capture in iMovie on Mac/iPhone/iPad
by Christine Smith • 2024-01-11 10:26:42 • Proven solutions
With iMovie, you can easily edit the videos as per your requirements. The built-in library arranges your videos so that all the captured movies you have edited or created are just a click away. The revolutionary interface of the iMovie makes it easy to browse your movie library and create new ones. Moreover, it is built for sharing as well by publishing your videos to popular video platform YouTube for iPhone, Apple TV and iPod. If you are thinking of capturing the screen, the new version of iMovie 11 will allow you to freeze-frame by right-clicking on the clip. If you are not aware of how to capture the screen with iMovie, here is a step by step guide for you.
- Part 1. Bonus Part: How to Capture Screen on Windows/Mac with Wondershare UniConverter
- Part 2. Capture the Screen with iMovie on Mac
- Part 3. Screen Capture in iMovie on iPhone/iPad
- Part 4. How to Capture Screen on Windows Using Free Software
Part 1. Bonus Part: How to Capture Screen on Windows/Mac with Wondershare UniConverter
There is much software that can be used to perfume the task of capturing a screen activity. However, Wondershare UniConverter is one of the best screen recorders to help you perform the above-mentioned activities effectively. It is the best screen recorder and video converter which can be used to capture screen on Mac.
 Wondershare UniConverter - Best Screen Capture Toolbox with Audio

- Record desktop screen with audio and output with no quality loss
- Support 1000+ video and audio formats, including MP4, MOV, MKV, WMV, and more others
- Optimized presets for almost all devices, like iPhone, iPad, Huawei phone, etc.
- 30X faster conversion speed than common converters with unique APEXTRANS technology
- Edit videos with trimming, cropping, merging, adding subtitles, applying effects, etc.
- Burn and customize videos to your DVD or Blu-ray disc with free DVD menu templates
- Versatile toolbox: Add video metadata, GIF maker, video compressor, video downloader, etc.
- Supported OS: Windows 10/8/7/XP/Vista, Mac OS 10.15 (Catalina), 10.14, 10.13, 10.12, 10.11, 10.10, 10.9, 10.8, 10.7, 10.6
Step 1 Install Wondershare UniConverter and Open Screen Recorder
Launch the downloaded Wondershare UniConverter program. On the main interface, click on the Screen Recorder tab. On the screen select Screen Recorder option.

Step 2 Open Screen Recorder Window Open and Set the Recording Area.
A screen recorder window opens. To set the recording area, drag the window to any part of the screen you want to record. Set your recording preferences such as record timer, audio, quality, and others as provided according to your task. To set the recording area, there are three options.
- By moving the cross icon in the center for the frame to change location
- By, clicking, holding and moving the edges to change the window size
- Feed the width and height of the recording area on the screen recorder window

Step 3 Click REC Button to Record
To Start Recording the process, click the REC button in red at the top right corner. Prepare for the process within the 4 seconds countdown.
Step 4 Hit Stop Recording.
The moment when the recording has been completed, click the red colored stop icon on the toolbar and hit Stop Recording. The image below shows how the successfully recorded file looks like. You can possibly change the name and the location of the file


Tips
If you need to edit your recorded screen, just move to Edit Videos Easily with Trim/Cut/Merge/Crop Easily >> to learn more.
Part 2. Capture the Screen with iMovie on Mac
1. Select the clip you would like to capture as a still frame.
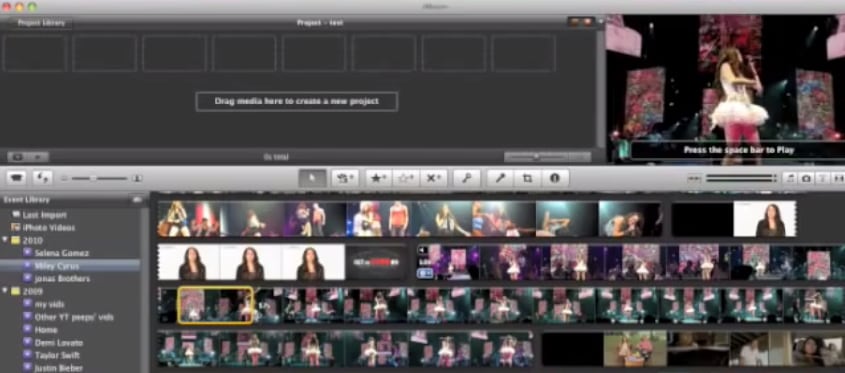
2. Slide the mouse to the selection you want a freeze-frame and Right-click.
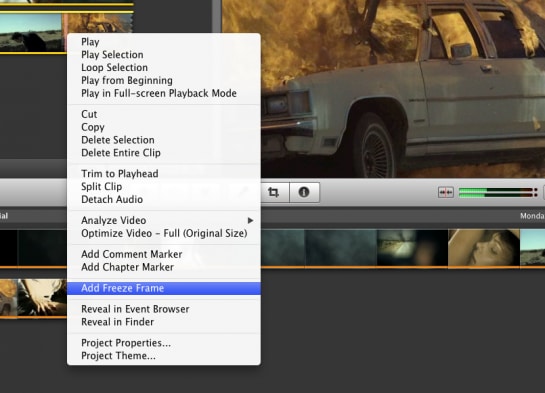
3. Select the option “Add freeze frame.”
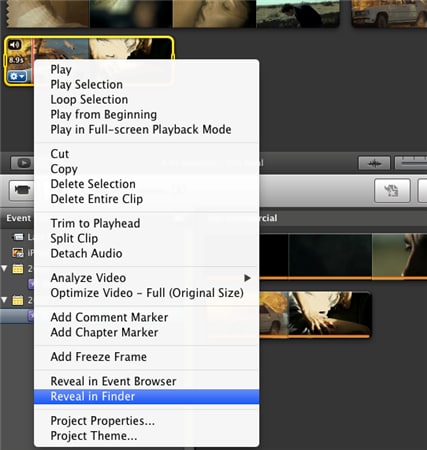
It is very easy to create a screenshot in iMovie by just right-clicking on the selected clip and choosing the “Freeze frame.” However, the image file that you have captured earlier disappears. If you right-click on a freeze-frame in iMovie, the option to “Reveal in Finder” disappears in the pop-menu. For this, you need to do the following steps.
4. Hover your mouse over the movie clip, and the freeze-frame was created from. Right-click and choose the option “Reveal in Finder.”
5. Right-Click the movie file in the Finder and choose open with QuickTime Player.
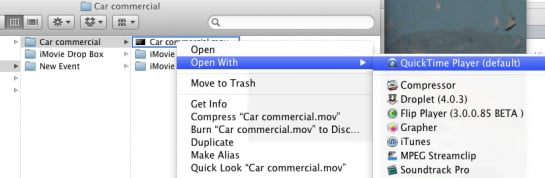
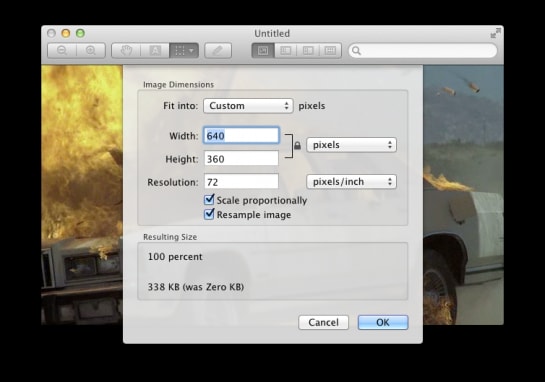
6. In QuickTime Player, find the point in the movie from which you wish to create an image.
7. Open Preview and choose File, New Command-N; Preview will create a new PNG document the same size as the movie file.
Part 3. Screen Capture in iMovie on iPhone/iPad
If you are using iMovie on your iPhone or iPad and wish to have a screenshot of your favorite part, here is a step-by-step guideline for you.
1. Add the desired video to the timeline.

2. Play the video and select the point at which you want to capture the screenshot. Press pause.

3. Press and hold power and home keys together for a second. A white flash will appear on your screen indicating, and you have successfully captured the screenshot. You can capture the screen in portrait or landscape mode.
It is one of the easiest and effective ways to capture the screenshot, no matter what type of application you are running on your iPhone or iPad.
Part 4. How to Capture Screen on Windows Using Free Software
If you wish to capture the screen or video recording software, look no further because TinyTake free software can put your worries away. You can capture images and videos of your computer screen and share them with your friends in minutes. If you don’t know how to use, here is a simple guideline to help you.
TinyTake Screen Capture
1 You need to register an account on TinyTake Screen Capture.
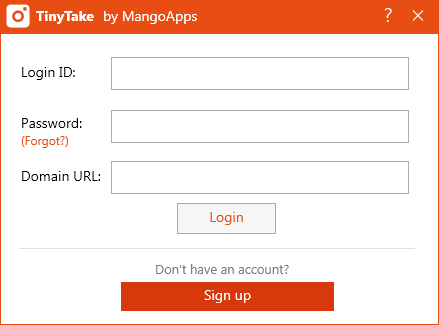
2. After successfully logging in, click on the system tray icon, after which you will be presented with various modes of capture.

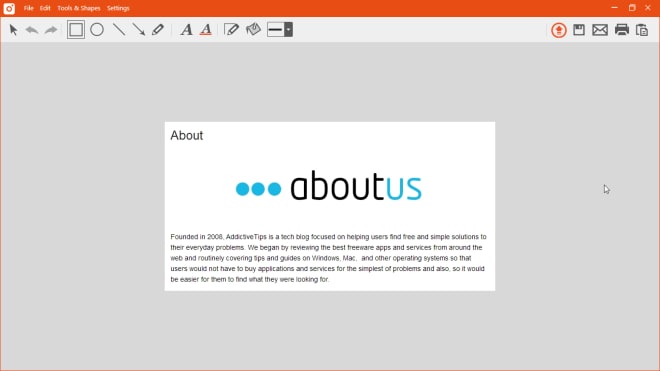
3 If you wish to capture a specific area on your computer, just click on the “Capture region” and select the region you want to capture. TinyTake shows the width and height measurements for the area you outline.

4. Soon after you capture the screenshot, a preview window will pop up. You can choose to re-do it, annotate it, or just upload it.
TinyTake is the free to use Windows software to capture the screenshot as well as many other functions that you can use without any trouble.


Christine Smith
chief Editor