


How to Convert YouTube to WAV Mac (Yosemite included)

Jan 15,2014 10:50 am / Posted by Christine Smith to Mac
YouTube is the most popular video streaming website in the world. Several people visit YouTube and download YouTube videos not only for watching YouTube videos offline, but also to extract music from YouTube videos. If you have difficulty in converting YouTube to WAV Mac, this article is absolutely right for you.
To extract WAV audio from YouTube files on Mac, I use a powerful Video Converter for Mac , which can extract YouTube videos to most popular audio formats including MAV, MP3, AAC, etc. with a good audio quality. The following is a detailed tutorial on how to convert YouTube to WAV Mac with this good Mac Video Converter.
Step 1: Download and install this YouTube to WAV Video Converter for Mac
This great Video Converter for Mac is available here. You can get it by clicking the below download link. After installation, just run it.


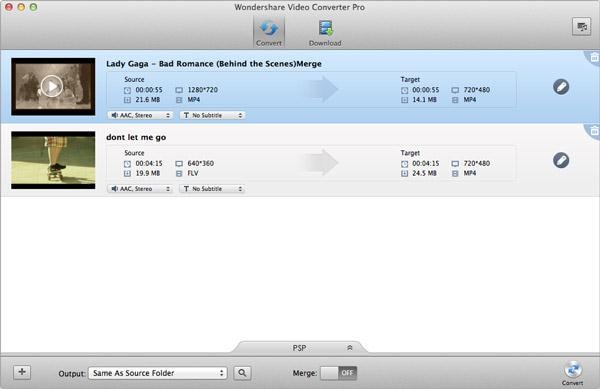
Step 2: Open YouTube videos in YouTube to WAV converter Mac
You have two ways to import YouTube videos to this app. Just drag and drop the YouTube videos on your Mac to it or go to File”>Add Video Files” to do this job.
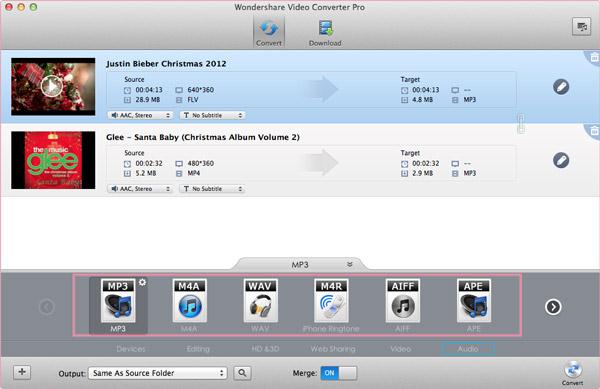
Step 3: Select WAV as the output format
Hit the format icon to open the output format list. Select WAV in the Audio category.
Step 4: Start to convert YouTube to WAV Mac
Now, you need to click the Convert button to perform YouTube to WAV conversion Mac. Of course, you can let this app run in the background. After a while, you can get an audio file with WAV extension.
With this smart YouTube to WAV Mac Video Converter, you can take the complete audio content out of YouTube videos easily, as well as with a good audio quality. Just have a try!
Related Articles
Product-related questions? Speak directly to our Support Team >>
